Two GitHub Accounts. One Laptop. Zero Conflicts.
· Chirag Gadhvi
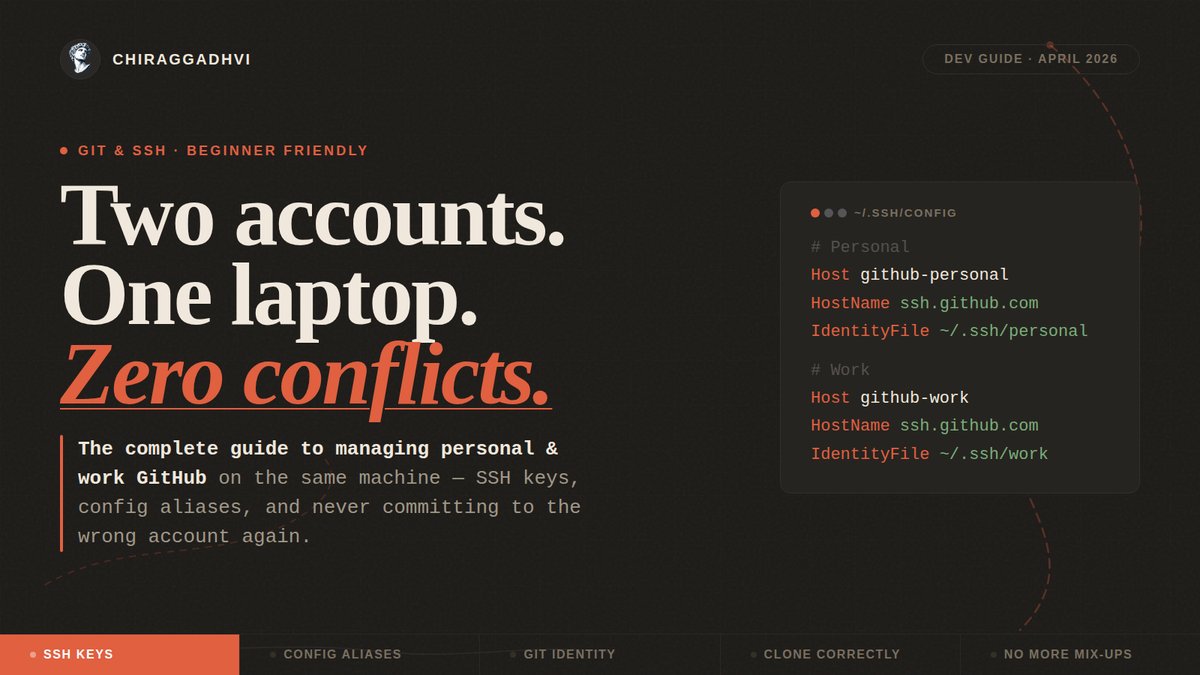
I broke my Git setup three times before I figured this out.
I had a personal GitHub account for side projects and a work GitHub account for my company's repos. Every time I cloned something, I'd end up with the wrong email on my commits, authentication would fail at 11pm, or I'd accidentally push personal code with my work identity.
There's a clean solution. It takes about 10 minutes to set up, and you never think about it again.
Here's the whole thing, explained simply.
The Core Idea
Git doesn't know who you are until you tell it. And if you have two GitHub accounts, you need a way to tell it which identity to use depending on which repo you're in.
The trick is SSH keys. Instead of one master key that logs you into GitHub, you create two separate keys — one for each account — and teach your laptop which key to use for which project.
Think of it like having two keycards. Same door (GitHub), but different rooms (your personal account vs your work account).
Step 1 — Create Two SSH Keys
Open your terminal. Run these two commands, one after the other.
Personal key:
ssh-keygen -t ed25519 -C "personal@email.com"
When it asks where to save, type:
~/.ssh/personal
Work key:
ssh-keygen -t ed25519 -C "work@company.com"
When it asks where to save, type:
~/.ssh/work
You'll now have four files in your ~/.ssh/ folder:
personal ← private key (never share this)
personal.pub ← public key (this goes to GitHub)
work
work.pub
Step 2 — Add Each Public Key to the Right GitHub Account
For your personal account:
- Go to github.com → log into your personal account
- Settings → SSH and GPG Keys → New SSH Key
- Paste the contents of
~/.ssh/personal.pub
For your work account:
- Log into your work GitHub account
- Same path: Settings → SSH and GPG Keys → New SSH Key
- Paste the contents of
~/.ssh/work.pub
How to copy a public key:
cat ~/.ssh/personal.pub
Then select and copy the output.
Step 3 — The Magic Step: Configure SSH
This is the part most tutorials skip over or explain badly. Create (or edit) this file:
~/.ssh/config
Add exactly this:
# Personal GitHub
Host github-personal
HostName ssh.github.com
User git
Port 443
IdentityFile ~/.ssh/personal
# Work GitHub
Host github-work
HostName ssh.github.com
User git
Port 443
IdentityFile ~/.ssh/work
What this does: You're creating two aliases — github-personal and github-work. When Git sees one of these aliases in a URL, your laptop knows exactly which SSH key to hand over.
Why Port 443? The default SSH port is 22. Some corporate networks and coffee shop WiFis block it. Port 443 is the HTTPS port — it's almost never blocked anywhere. Using it means your setup works from everywhere.
Step 4 — Clone Repos Using the Right Alias
This is the step that trips people up. You can't use the normal GitHub clone URL anymore.
❌ Don't use this:
git clone git@github.com:username/repo.git
✅ Use this instead:
For a personal repo:
git clone git@github-personal:yourpersonalusername/repo.git
For a work repo:
git clone git@github-work:yourcompanyname/repo.git
The only difference is replacing github.com with github-personal or github-work. That alias is how your laptop knows which key to use.
Step 5 — Set the Right Git Identity Inside Each Repo
SSH handles authentication (proving you are who you say you are). But Git also needs to know whose name and email to attach to your commits. These are separate things.
Inside every work repo, run:
git config user.name "Your Work Name"
git config user.email "work@company.com"
Inside personal repos:
git config user.name "Your Name"
git config user.email "personal@email.com"
Pro tip: Set your personal identity as your global default so you don't have to do anything for personal projects:
git config --global user.name "Your Name"
git config --global user.email "personal@email.com"
Then only explicitly set the work identity inside work repos.
How Git Decides Which Identity to Use
Git checks in this order:
- Repo-specific config (what you set with
git config user.emailinside the repo) - Global config (your
~/.gitconfigdefault)
So: existing personal projects automatically use your personal identity. Work repos use the work identity once you've set it. No conflicts.
Common Mistakes to Avoid
Using HTTPS instead of SSH If your clone URL starts with https://, none of this works. You need the SSH format (git@github-personal:...).
Forgetting the alias in the clone URL git@github.com:... and git@github-personal:... look similar but behave completely differently. The alias is the whole point.
Not setting the email in a work repo If you skip Step 5 in a work repo, your personal email will show up on your work commits. Most companies care about this.
Overwriting existing SSH keys When ssh-keygen asks where to save, always type the full path (~/.ssh/personal). If you just press Enter, it saves as ~/.ssh/id_ed25519 and overwrites any key already there.
Test That Everything Works
Run these to verify each identity connects correctly:
ssh -T git@github-personal
# Should say: Hi yourpersonalusername! You've successfully authenticated...
ssh -T git@github-work
# Should say: Hi yourworkusername! You've successfully authenticated...
If you see "Permission denied", double-check that the right public key is added to the right GitHub account.
The Mental Model in One Line
github-personal= your personal keycard → personal GitHub accountgithub-work= your work keycard → work GitHub account
Pick the right alias when cloning. Set the right email inside the repo. Done.
Why Bother?
This setup takes 10 minutes once. In exchange you get:
- No more authentication failures when switching between projects
- Clean commit history — the right name and email on every commit, forever
- Works on any network — Port 443 gets through firewalls that block standard SSH
- Peace of mind — you can't accidentally push personal code with your work account
I've been running this setup for two years across three laptops. I've never had to think about it since the first time I configured it.
Set it up once. Move on.
Found this useful? Share it with a developer who's been fighting with Git authentication.
Follow ChiragGadhvi for more dev guides and daily AI news.